Flare Animation With Flutter
Introduction
Flare provides powerful real-time vector style and animation for app and game designers alike. The first goal of Flare is to permit designers to work directly with assets that run in their final product, eliminating the requirement to redo work job in code.
Purpose of this article?
In this article, I will create a simple flare animation application using flutter and then run that application on the android emulator and web browser.
Setup Flutter on your machine
If you don’t have a flutter set up in your machine so you have to need to install it first. Click here to learn how to set up flutter on Windows and for Linux click here.
Let’s Begin.

- Add flare_flutter dependency in your project pubspec.yaml file.
dependencies:
  flutter:
    sdk: flutter
  flare_flutter: <latest_version>
flare_flutter : Using this dependency we will add flare animation file in the project.
Run flutter packages get command on terminal- Add the below code in your main.dart file for import dependency.
import 'package:flare_flutter/flare.dart';
import 'package:flare_flutter/flare_actor.dart';
import 'package:flare_flutter/flare_controller.dart';
- Add Flare animation file in assets folder (user define folder). You can create your own animation or download another online source. Click here for download.
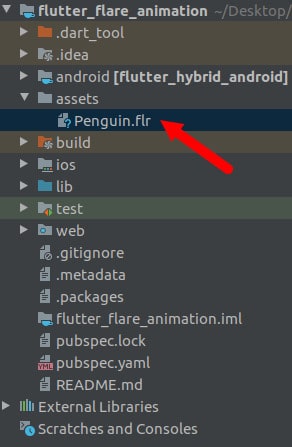
- Do entry of the flare animation file in pubspec.yaml file
  assets:
    - assets/Penguin.flr
Now we are ready for Coding the component.
class Homepage extends StatefulWidget {
  Homepage({Key key}) : super(key: key);

  @override
  _MyHomePageState createState() => new _MyHomePageState();
}

class _MyHomePageState extends State<Homepage>
    with SingleTickerProviderStateMixin, FlareController {
  AnimationController controllerProgress;
  Animation<double> animation;
  double _rockAmount = 0.5;
  double _speed = 1.0;
  double _rockTime = 0.0;
  ActorAnimation _rock;

  @override
  void initialize(FlutterActorArtboard artboard) {
    _rock = artboard.getAnimation("music_walk");
  }

  @override
  bool advance(FlutterActorArtboard artboard, double elapsed) {
    _rockTime += elapsed * _speed;
    _rock.apply(_rockTime % _rock.duration, artboard, _rockAmount);
    return true;
  }

  _controlProgrgress() {
    controllerProgress =
        AnimationController(duration: const Duration(seconds: 5), vsync: this);
    animation = Tween(begin: 0.0, end: 1.0).animate(controllerProgress)
      ..addListener(() {
        setState(() {
          _speed = animation.value * 5;
        });
      });
    controllerProgress.repeat();
  }

  @override
  void initState() {
    super.initState();
    _controlProgrgress();
  }

  @override
  Widget build(BuildContext context) {
    return Scaffold(
      body: Stack(
        //alignment: Alignment.center,
        children: <Widget>[
          Positioned.fill(
              child: FlareActor(
            "assets/Penguin.flr",
            alignment: Alignment.center,
            fit: BoxFit.cover,
            animation: "walk",
            controller: this,
          )),
          Positioned.fill(
              child: new Column(
                  mainAxisAlignment: MainAxisAlignment.end,
                  children: <Widget>[
                LinearProgressIndicator(
                  value: animation.value,
                ),
              ])),
        ],
      ),
    );
  }

  @override
  void dispose() {
    controllerProgress.dispose();
    super.dispose();
  }

  @override
  void setViewTransform(Mat2D viewTransform) {
    // TODO: implement setViewTransform
  }
}

Now run this project Android emulator first.
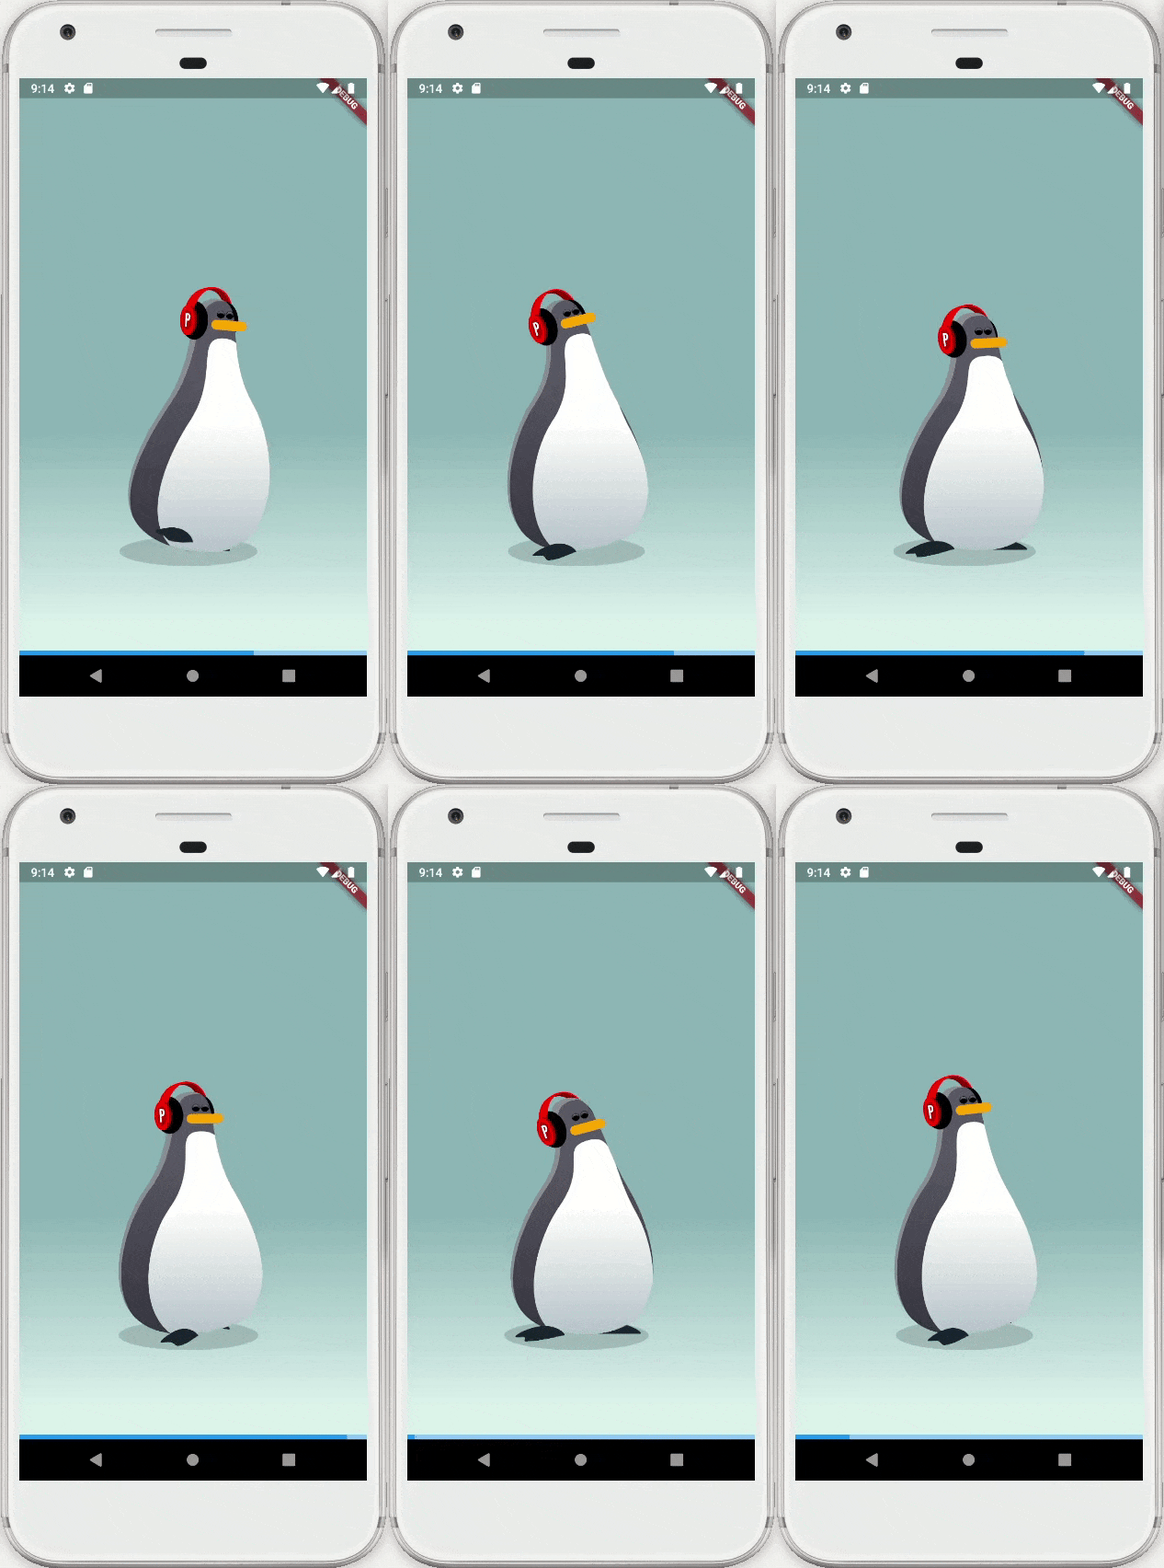
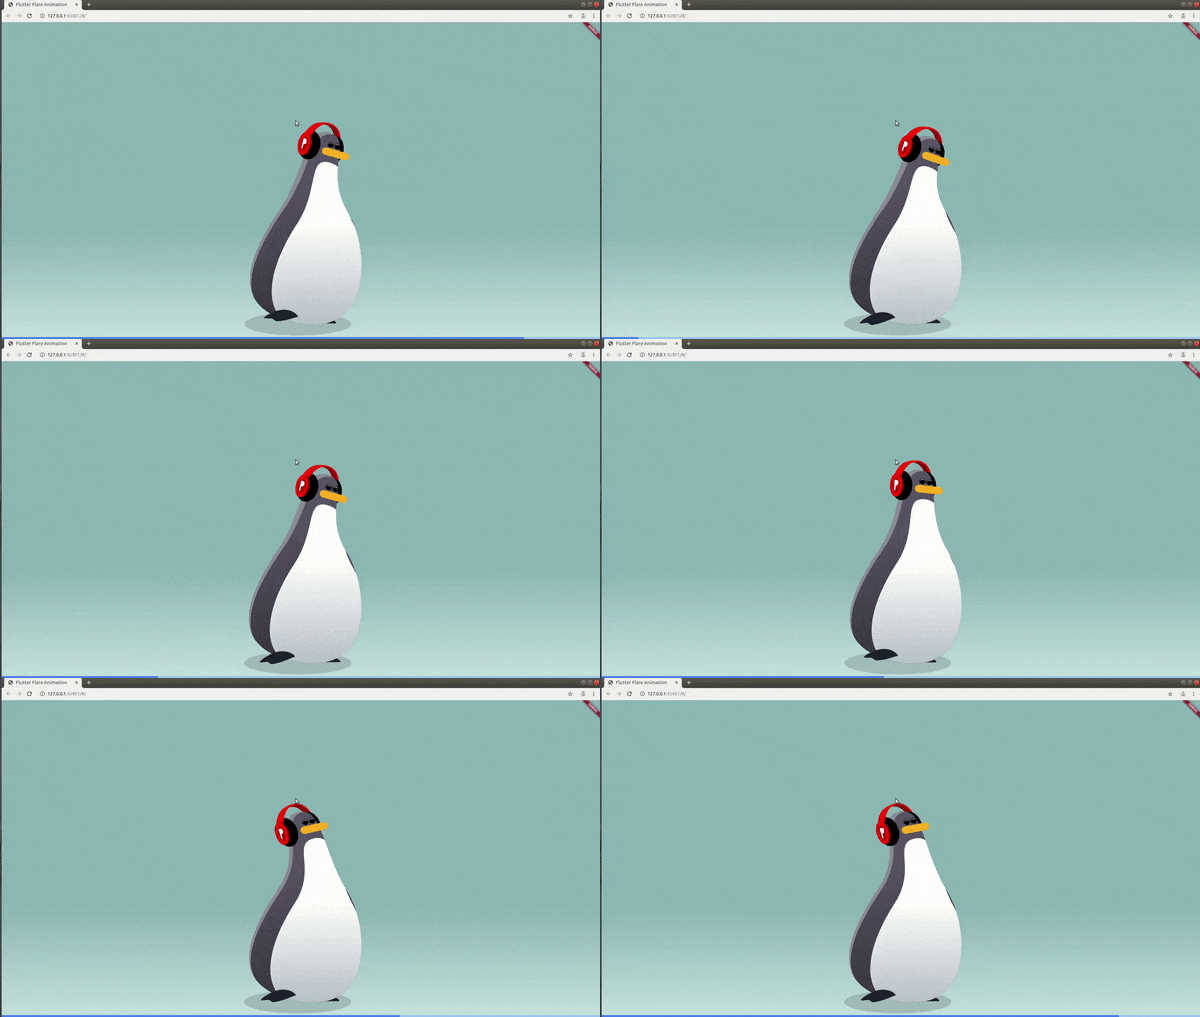
Finally, our flare project successfully runs on the android emulator now run it on the web browser. For run flutter projects on Web, you have to need to set up your flutter project as run on the web. For learning how to set up just watch our Flutter web Course.
After done web set up run below command for a run project on the web.
flutter run -d chrome
Get complete code on GitHub.

